728x90
반응형
테스트 하고자 하는 클래스에서 컨트롤 + 시프트 + t 단축키를 누르자

아래와 같이 테스트 코드를 작성하자
package com.rsn.POMS.api.crowdsourcing.labellingwork.service;

import com.rsn.POMS.api.crowdsourcing.labellingwork.vo.LabellingWorkVO;
import com.rsn.POMS.api.setting.exception.CustomException;
import com.rsn.POMS.api.setting.utils.ApiResultErrorCode;
import org.junit.Test;
import org.junit.jupiter.api.Assertions;
import org.junit.runner.RunWith;
import org.springframework.beans.factory.annotation.Autowired;
import org.springframework.boot.test.context.SpringBootTest;
import org.springframework.test.context.junit4.SpringRunner;

import static org.assertj.core.api.Assertions.*;
import static org.junit.jupiter.api.Assertions.*;

@RunWith(SpringRunner.class)
@SpringBootTest
public class LabellingWorkValidateTest {

    @Autowired
    LabellingWorkValidate labellingWorkValidate;

    @Test
    public void 라빌링_작업_검증_유효성_검사_성공(){

        labellingWorkValidate.getLabellingWork(
                LabellingWorkVO.builder()
                        .workStatus(2)
                        .build());
    }

    @Test
    public void 라빌링_작업_검증_유효성_예외(){

        CustomException exception  = assertThrows(
            CustomException.class
            , () -> labellingWorkValidate.getLabellingWork(
                                            LabellingWorkVO.builder()
                                                    .workStatus(3)
                                                    .build())
        );

        assertThat(exception.getCustomExceptionType()).isSameAs(ApiResultErrorCode.FieldValueException);
    }
}
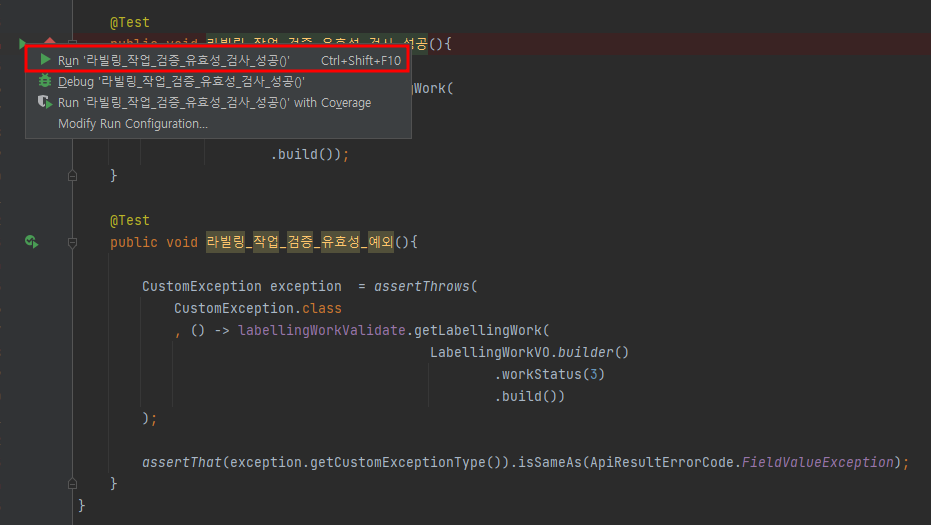
테스트를 실행 후 내가 원하는 로직으로 가는지 확인하자 !
728x90
반응형
'개발중 > 참고 기능' 카테고리의 다른 글
| DBeaver: 데이터 가져오기 - 한글이 깨져서 저장됩니다. 해결하기. (0) | 2024.12.19 |
|---|---|
| Visual Studio 같은 파일을 다른 탭으로 보기 (0) | 2022.11.08 |
| MiB와 MB는 어떻게 다른가? (0) | 2022.06.30 |
| 메가비트 메가바이트 공부하기 (0) | 2022.06.30 |
| 이클립스에서 js 수정 후 바로 반영 안된다!!!!!!!!! (0) | 2022.06.13 |

댓글